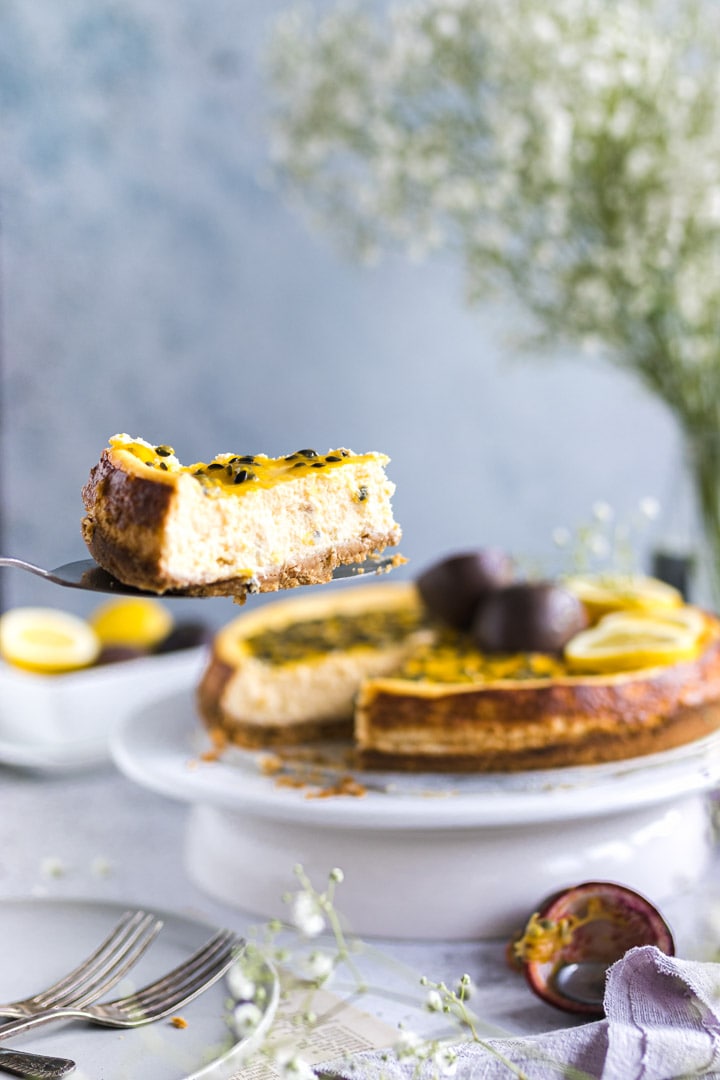
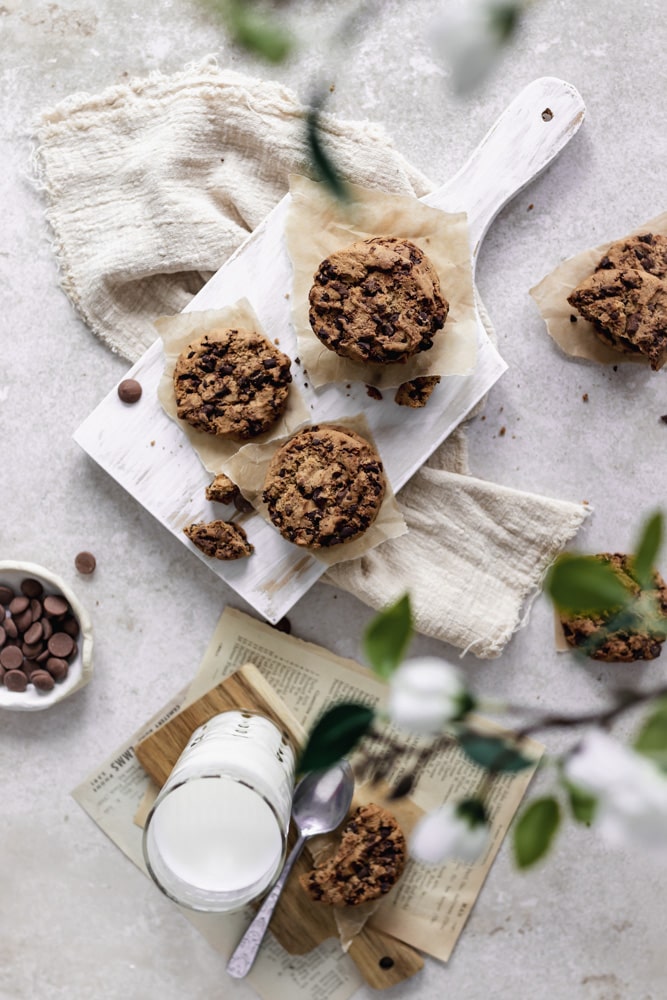
11 tips to take great food photography action shots
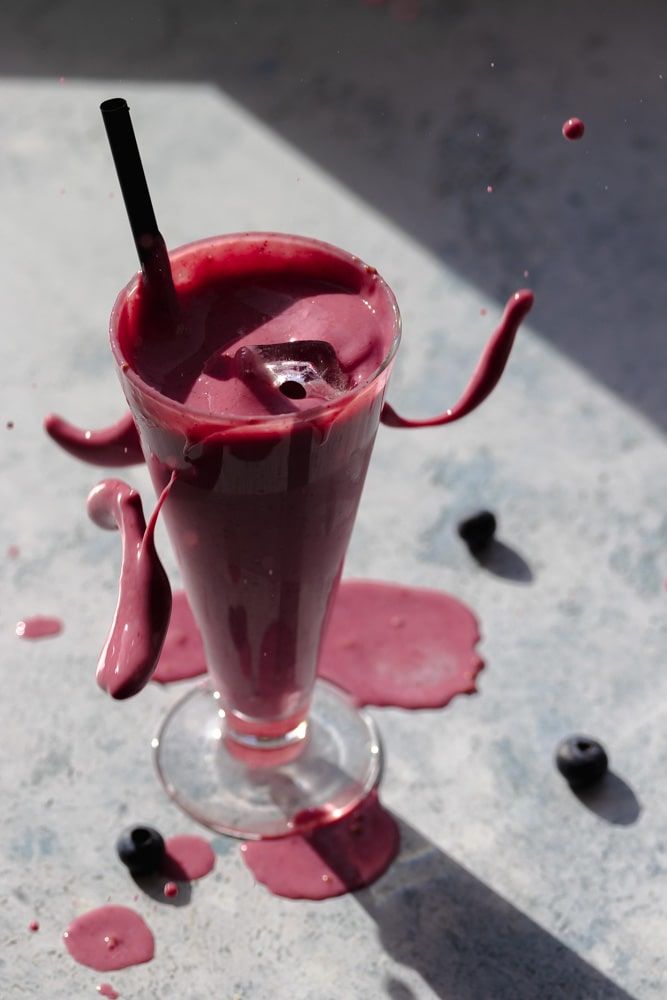
Pouring chocolate, capturing smoke, honey swirls, icing sugar and splash are all actions that can be captured in food photography. Action shots can help you tell a story. Do you want to know how to take food photography action shots? In this blog, I share 11 easy tips with you, so you can take perfect food photography action shots yourself.
Have you seen food photography action shots by other photographers and do you want to learn how to do it yourself? Follow the 11 tips in this blog and it will be easy to take the perfect food photography action shots yourself. Taking an action photo is not difficult at all if you follow my tips and tricks below.
Capturing action is one of my favorite things to do when I take food photos. Action in a food photo makes the photo more interesting and helps by telling a story. It helps you to stand out from all the others.
For capturing action in food photography it is important that you understand your camera and that you use the right shutter speed. It is helpful that you can shoot in manual mode.
How do you take great action shots in food photography?
1. Use a tripod
First of all, a tripod is necessary when you are photographing action photos on your own, without any help. When your camera is on a tripod, you have got your hands free. And then you can use your hands to create the action. After all, something must be sprinkled or poured on your subject. I have a Manfrotto 290 dual 3-way head tripod.
Secondly, a tripod is needed for a first clean shot. The setting can get a little messy when shooting action. For example liquid everywhere after dropping an ice cube into a cocktail. The perfect action shot needs often multiple attempts and shots. When you have taken a clean photo before you can edit the photo or maybe combine multiple photos in photoshop. This is only possible with a tripod, the composition moves every time shooting handheld.
At last, a tripod is essential for unwanted camera shake. When you shoot handheld with a slow shutter speed, the smallest movements can ruin your photos. If you do not have a tripod or do not want to use one, it is useful to look at the rule of thumb to prevent camera movement. It is recommended to use a minimum shutter speed of 1 / focal length of your lens when shooting handheld. So for a 50 mm lens, you set a shutter speed from at least 1/50 second. If you want to be safe, you can set the shutter speed a bit faster.
2. Shoot in manual mode
Shutter speed is the most important camera setting when it comes to action in food photography. With this in mind, it is important that you can adjust the shutter speed yourself. You can’t do this using the automatic mode, because the camera determines the shutter speed for you and you have no influence on this setting. On the other hand, using the manual mode will give you total control over the outcome of your photos and your shutter speed. Shutter speed, aperture, and ISO all affect the exposure of your photo.
If you find it difficult to set everything up yourself and to use the manual mode. There is also another way to set up only your shutter speed: the TV (s) mode of your camera. The TV mode only sets the shutter speed, your camera automatically adjusts automatically the ISO and Aperture for the right exposure. Still, I highly recommend learning the manual mode as soon as possible, because it gives you more freedom.
3. Use the correct shutter speed
As I said above shutter speed is the most important camera setting when it comes to action. While the shutter speed determines whether the movement of your subject is frozen. Therefore it is useful to know what effect the shutter speed has on your photo. For taking an action photo, it is useful to know how your camera works and how to photograph in manual mode.
The adjustable shutter speed range on most cameras varies from 1 / 4000th of a second to a time of 30 seconds. When taking a picture with a shutter speed of 1/250th, this means that the sensor will be exposed for only one-two hundred and fiftieth of a second.

Slow shutter speed
With a slow shutter speed, the moving part will be blurred because the subject is moving at a slow shutter speed
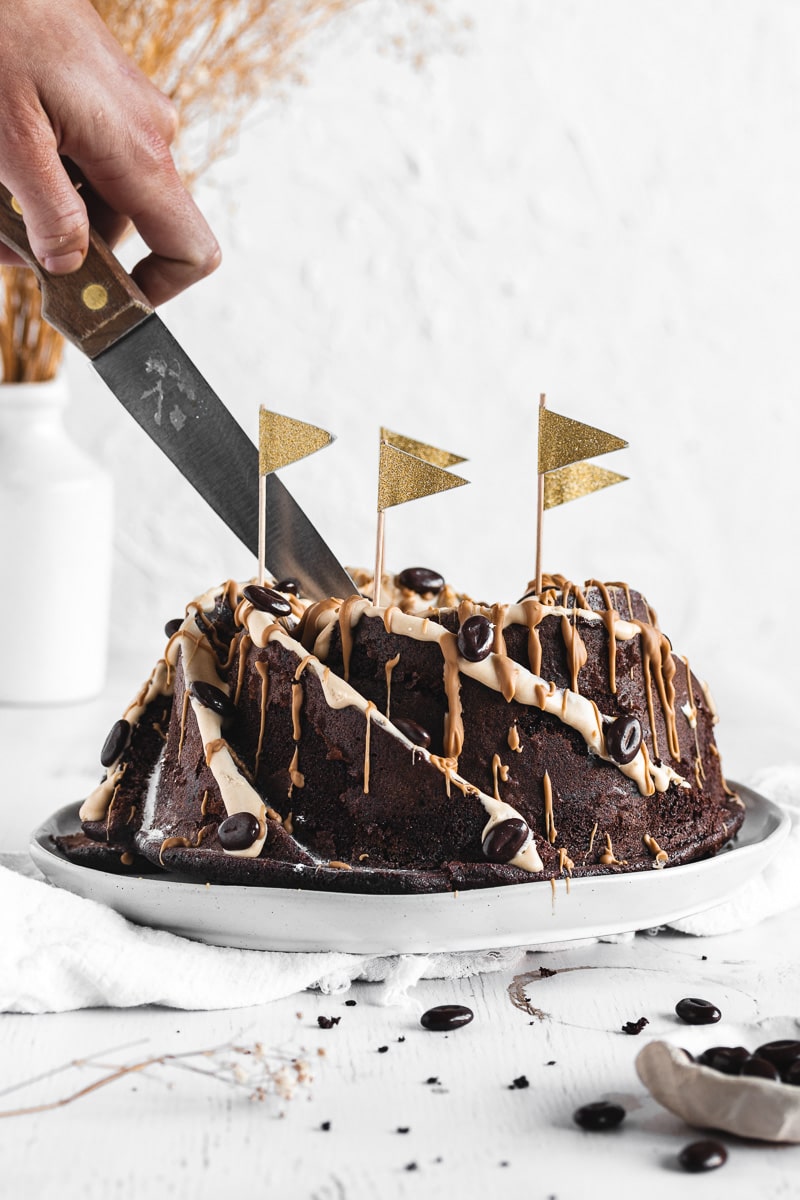
Fast shutter speed
With a fast shutter speed, movement will be frozen and the movement will be displayed in focus.
The shutter speed depends on the movement you want to capture and how fast it moves. There is no right or wrong. Beata Lubas writes in her book How to Photograph food that there are a number of shutter speeds for photographing movement that you can experiment with.
Recommended shutterspeed for capturing action
| Shutter speed | Action |
|---|---|
| 1/250 seconds | Pouring melted chocolate or caramel |
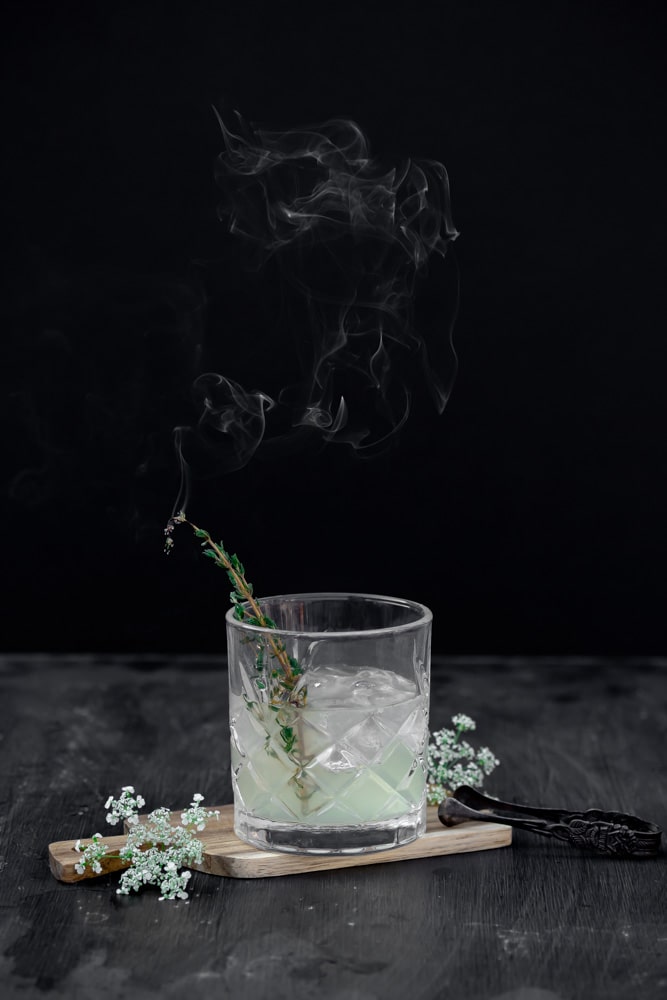
| 1/400 seconds | Capturing smoke from a candle |
| 1/800 seconds | Capturing icing sugar or grated cheese |
| 1/1000 seconds | Capture a honey swirl |
4. Use a remote control

In addition, it is useful to have a remote control for your camera. With a remote control you don’t have to touch the camera for making a shot. That allows you to control your camera from a distance. Search on Google for the remote control that works on your camera. If you don’t have a remote control you can also use the self-timer of your camera.
The newer cameras have the possibility to connect to WIFI and your phone. I can control my camera via an app on my mobile, with the canon camera connect app. Search on Google of this option is also possible for your camera brand and your camera model.
Click on the links to get the canon camera connect app for your Apple App Store and Google Play Store.
5. Use the burst mode and take a lot of photos
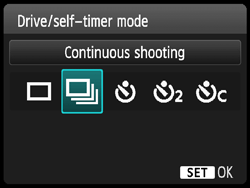
Try to take as many photos as possible. Sometimes you have to be lucky for an action photo. Often you need more photos to achieve the perfect action photo. Therefore, do not give up quickly. Sometimes I make about 200 photos of the action. Repeat the action multiple times But sometimes you only can do the action one time
Take as many photos as possible and try to adjust the shutter speed if you see that the one that you are using is not working. The burst mode (also called the continuous mode) allows you to shoot a sequence of photos in rapid-fire succession. So use the burst mode on your camera to take as many photos as possible.
Remember: how faster your shutter speed, how faster you can take photos in a row.
6. Focus manually
Since I know how to use manual focus. I always use manual focus, when shooting action. Automatic mode is too unpredictable because it can end up focusing on the wrong thing or have trouble finding something to focus on. It can result in blurry images. On the other hand, manual focus gives you total control of your focus point.
How can you turn on your manual focus?
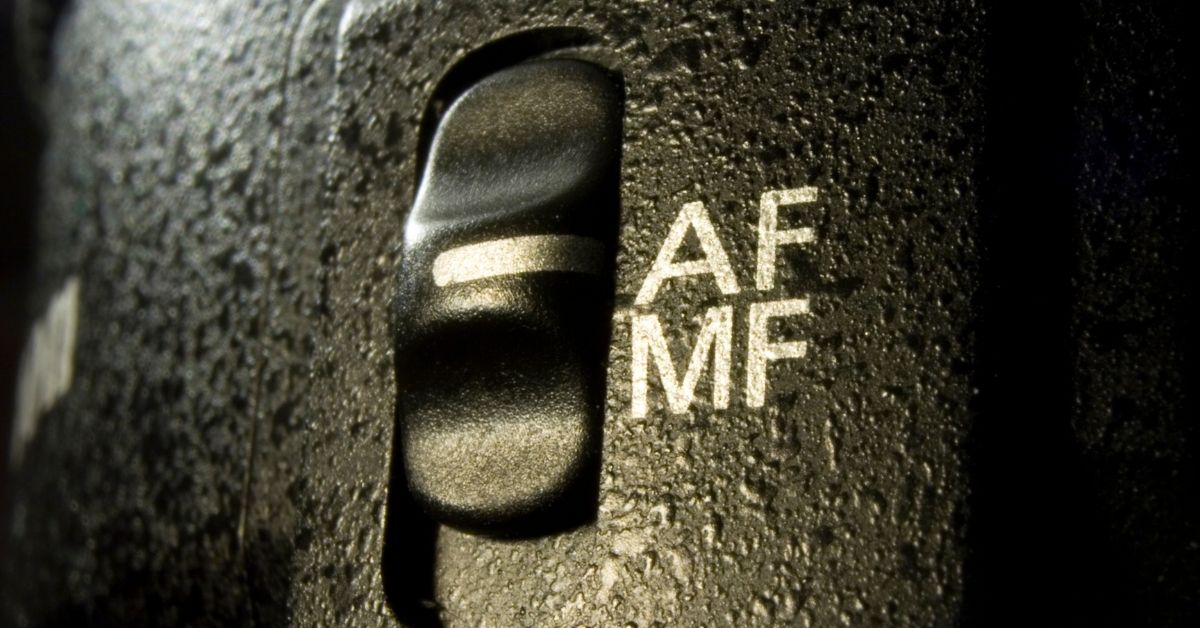
On the side of your lens, look for a switch labeled “AF – MF,” which is short for Autofocus and Manual Focus. You can use the manual mode by switching the button on your lens from AF to MF. Turn the focus ring until your subject sharpens. I advise you set the focus on the part of the food where the action hits. You can use a dummy to set the focus. After that make the real action and capture this.
7. Use a contrasting background
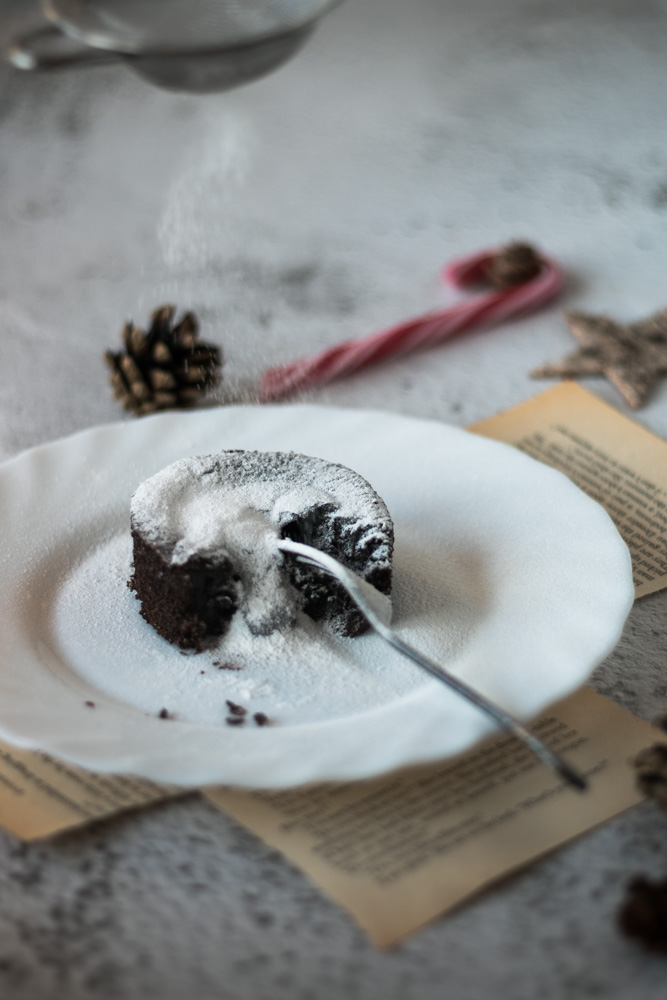
My advice is to use a contrasting background relative to the moving object, so your action stands out. Like I did in the sprinklers photo above. In the chocolate lava cake photo below I didn’t use a contrasting background. You can see that the powdered sugar doesn’t stand out. So if powdered sugar (light) is your action use a dark background.
8. Use the right angle
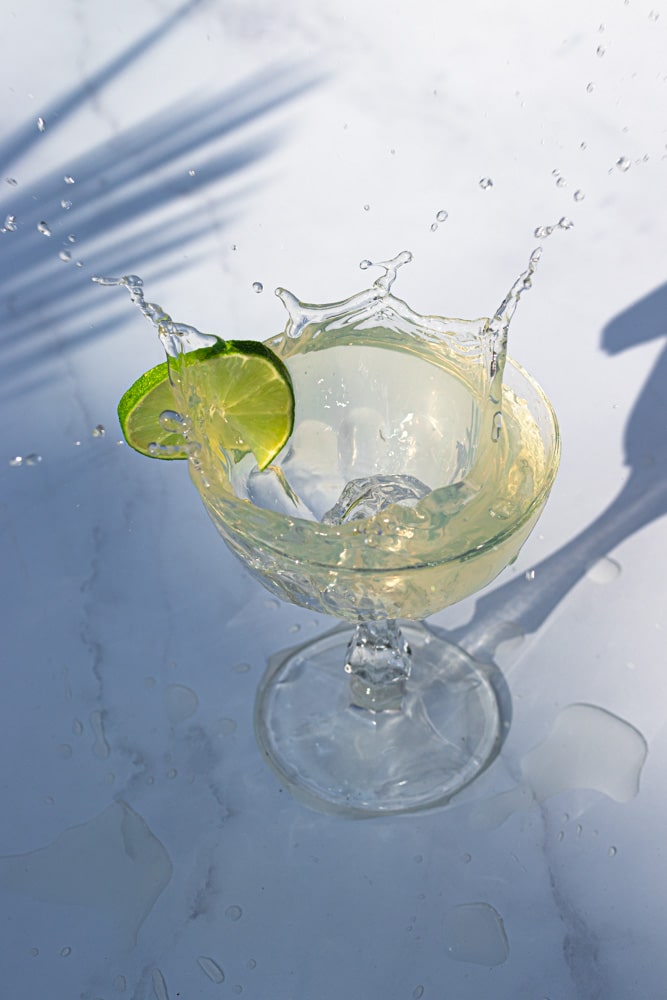
Think about the right angle to shoot the food and the action. There are three common angles for food photography: 0 degrees (front), 45 degrees, from above (flat lay). Choose the right angle which can reflect the action and the food.
9. Direction of the light
Please keep in mind to perform the action at the opposite side of the light. Otherwise, you will block the light of your hero and create unwanted shadows. Always check of the subject of your photo is well lit. For instance, if your light is coming from the right side, you have to pour the sauce from the left side.
10. Adjust your food to movement
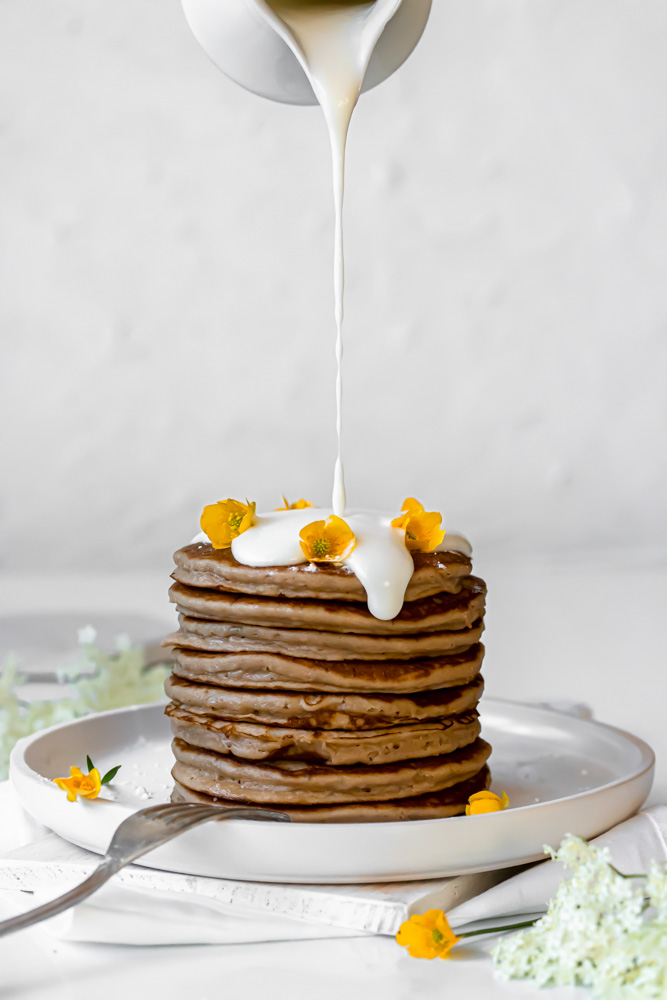
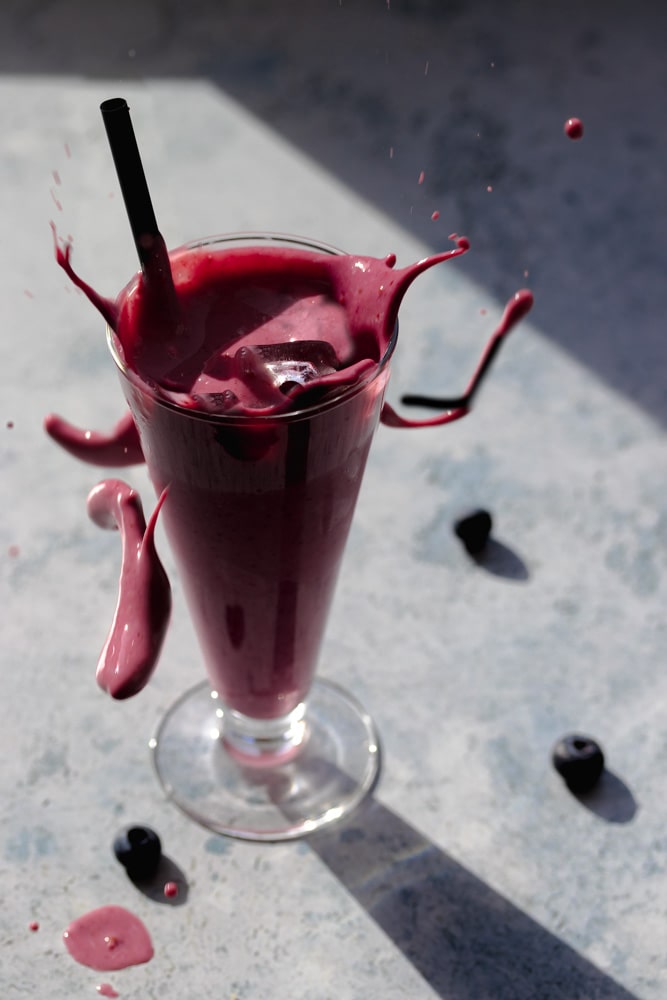
There are several fake tricks you can use for food photography, but I always shoot real food that can be eaten. So no motor oil as maple syrup. I always want the food to be real. But sometimes the food needs to be adjusted to the movement. When I shot this pancake shot, I added some water to the banana yogurt to make it more liquid. Sometimes the food needs to be adjusted for the perfect drip.
11. The action doesn’t need to be an active action
It sounds strange, but you don’t always have to do an active action while shooting action. For example, when slicing cake you don’t have to slice the actively. You can just hold the knife still, so it seems that the cake is sliced. But you are not really slicing the cake.
Conclusion
In conclusion, it isn’t hard to take great action food photos if you are following the following tips: use a tripod, use the right shutter speed. use a remote control, use the burst mode, use the manual mode, use the right angle, use a contrasting background, adjust the food to movement, and take the direction of the light into account.
FAQ
Splash, pouring, smoke, drizzling, icing sugar, honing swirls, cacao powder, sprinklers are all actions that can be photographed in food photography.
Shutter speed is the most important camera setting for capturing food photography action, you can adjust the shutter speed manually while shooting in Manual mode.
Use manual focus, and focus on the place where the action is going to hit the food.
This post may contain affiliate links. You can read my affiliate policy here.

