Easy 6-ingredient no-bake Lotus Biscoff Cheesecake
Do you want to indulge in a decadent dessert without breaking a sweat? Look no further than our Easy 6-Ingredient No-Bake Lotus Biscoff Cheesecake. With minimal effort and maximum flavor, this delightful treat will win over your taste buds and save you time in the kitchen.
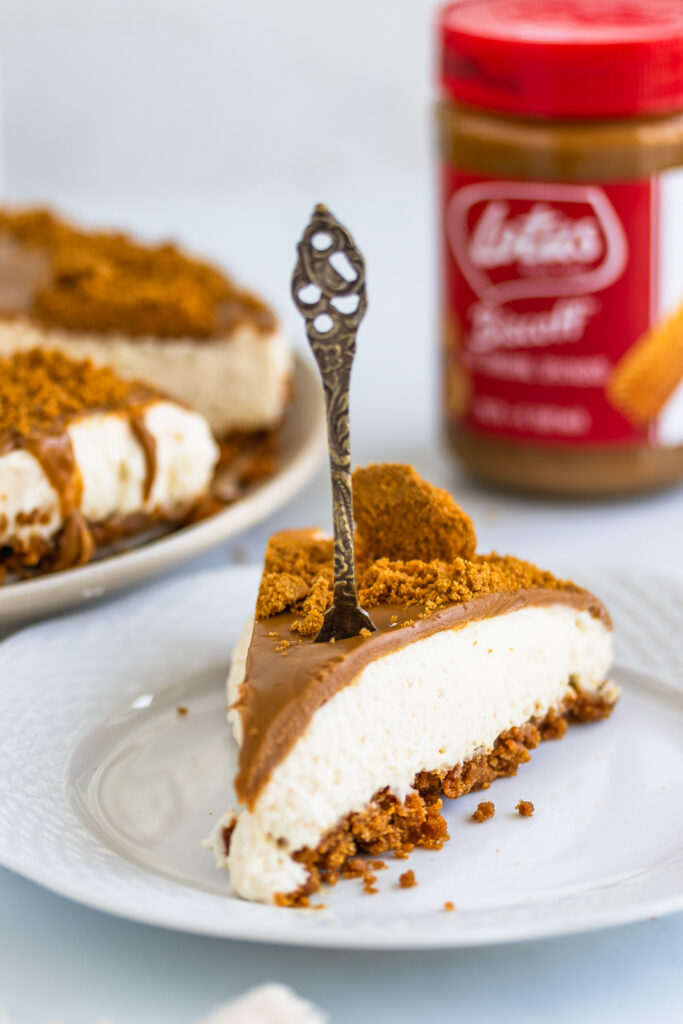
Imagine a dessert that’s both creamy and dreamy, combining the velvety smoothness of cheesecake with the spiced wonder of Lotus Biscoff cookies. Now picture making it with just six simple ingredients. This no-bake Lotus Biscoff cheesecake recipe is a testament to the fact that elegance doesn’t always require complexity.
Because this Biscoff cheesecake is a no-bake, the cheesecake doesn’t have to go into the oven and only needs to stiffen in the refrigerator. Do you want more no-bake recipes? Check out the recipe for Easy no-bake Double Chocolate Oreo Cheesecake or No-bake Mojito cheesecake. Try out the Fully loaded Lotus Biscoff Pancakes as well if you love Lotus Biscoff.
Ultimate Baking Guide
Do you want to improve your baking? Read my Ultimate Baking Guide where I share the best baking tips ever. No more baking failures!
What is a no-bake cheesecake?
A no-bake cheesecake is a cheesecake that doesn’t have to go in the oven. It only needs to stiffen in a refrigerator. A no-bake cheesecake is a lot easier to make than a baked cheesecake because there are no eggs and no oven involved. It can be complicated to bake a cheesecake because there are a lot of things you have to take into consideration. Things like over-mixing, over-baking, and cracks are common in baked cheesecakes. So take the easy ride and make a no-bake cheesecake.
What is Biscoff?
Biscoff, also known as Lotus Biscoff, is a brand of spiced caramelized cookies that originated in Belgium. These cookies are known for their distinctively crunchy texture and rich flavor, often described as a blend of cinnamon and caramel. In addition to the classic cookies, Biscoff has also expanded its product line to include spreads, cookie butter, and other delicious treats.
Ingredient notes and variations
Before we dive into the delightful process of creating this cheesecake masterpiece, let’s gather the essential ingredients:
- Cream cheese – use room temperature cream cheese for a smooth cheesecake filling. I personally love Philidelphia cream cheese or Dutch Monchou cheese. If you are in a rush, you can soften the cream cheesecake by putting it in the microwave for 5 seconds.
- Whipped cream – use cold whipped cream so it can be beaten into stiff peaks, which makes the filling thicken and more like a mousse. The fat helps the cheesecake set more properly. Therefore don’t substitute with cream with less fat!
- Lotus Biscoff biscuits – for the crunch on top of the cheesecake.
- Lotus Biscoff Spread – for the velvety Lotus Biscoff layer on top of the cheesecake.
- Unsalted butter – I love to regulate the amount of salt I use for baking, that is why I always use unsalted butter.
- Sugar – breaks down the cream cheese. Adding a little bit of powdered sugar helps to thicken the filling without affecting the taste.

🍰 Step-by-step instructions
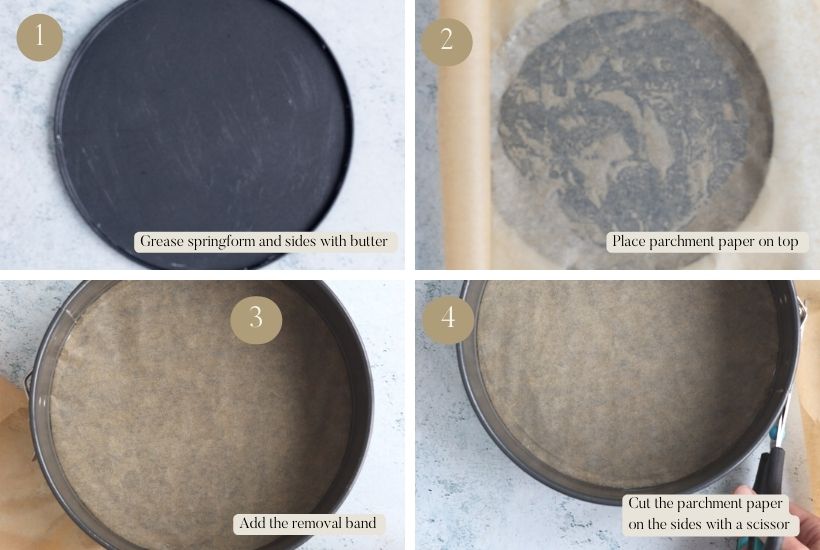
Line the bottom of the springform with baking paper. And grease the rest of the springform with unsalted butter.
Creating the Biscoff Crust
To kick off the cheesecake-making adventure, we’ll start by crafting the delectable Lotus Biscoff crust. Begin by finely crushing Lotus Biscoff biscuits in a food processor or by placing them in a plastic bag and using a rolling pin.
Melt unsalted butter and combine it with crushed biscuits until the mixture resembles wet sand. Press the mixture firmly into the base of a springform pan to form the crust. Refrigerate while you prepare the filling.
Preparing the Creamy Cheesecake Filling
The heart of the cheesecake lies in its velvety filling: Whip the heavy cream until stiff peaks form. Set aside. In a separate bowl, beat cream cheese, sugar, and vanilla extract until smooth and creamy. Gently fold the whipped cream into the cream cheese mixture until well combined.
Now, transfer the cheesecake filling into the pan and spread out in an even layer. Cover the cheesecake and refrigerate it overnight (or a minimum of 6 hours).
Garnishing Your Cheesecake
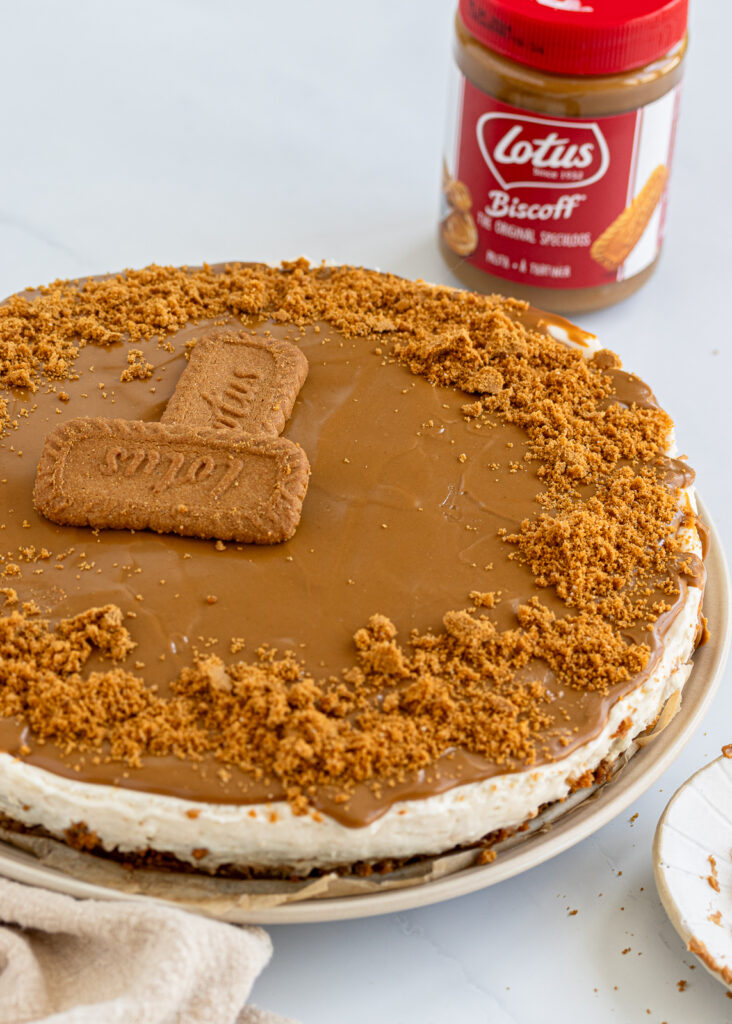
Melt the Biscoff spread in the microwave for 30 seconds and pour it over the cheesecake and spread out in even layer with a spatula. Sprinkle crushed Lotus Biscoff biscuits over the cheesecake.
With decorating you can make your cheesecake a real showstopper. Add as many toppings and layers to make the cheesecake really beautiful. You can add red fruits, chocolate sauce, caramel sauce, whipped cream, and more. Be creative and make a masterpiece of your cheesecake. Choose what you like and have fun!

Equipment
The equipment you need for making this no-bake Lotus Biscoff cheesecake.
- Springform of 10 inches (27 cm)
- Hand mixer or a stand mixer
- Mixing bowl
- Saucepan
- Optional: food processor
How to cut a no-bake cheesecake?
The easiest way to cut a cheesecake is to dip a large chef’s knife in warm water and then dry it with a towel. This allows the warm knife to slice through the cake. Then repeat these steps every time.
How long can you store a no-bake cheesecake?
Fridge: You can keep a covered no-bake cheesecake in the fridge for three days. Cover the cheesecake before putting it in the fridge. You can do this by putting the cheesecake in a pedal bin bag or by covering it with cling film. Don’t keep the cheesecake longer than 6 hours out of the refrigerator.
Freezer: You can also freeze an undecorated cheesecake for three months. Before freezing the cheesecake needs to stiffen for at least 6 hours in a refrigerator. Remove the cheesecake from the freezer 24 hours before serving and then decorate.
Variations to Explore
Feeling adventurous? Here are a few variations to consider:
- Chocolate or caramel Drizzle: Drizzle melted chocolate or caramel over the cheesecake for a decadent twist.
- Fruit Medley: Top the cheesecake with a medley of fresh berries or sliced fruits.
- Nutty Delight: Sprinkle chopped nuts on top for added texture and flavor.
👩🏼🍳 Expert tips
- Time management: Are you running out of time? You can make the cheesecake or only the cheesecake crust up to two days in advance. The cheesecake needs to stiffen for a minimum of 6 hours in the refrigerator.
- Ingredient temperature: it is super important to have the cream cheese and sour cream at room temperature. The whipped cream must be cold, to beat it in stiff peaks.
FAQ
Absolutely! While Lotus Biscoff cookies are traditional, you can experiment with graham crackers or other cookies.
It’s best to let the cheesecake set in the refrigerator for at least 4-6 hours, or preferably overnight, for the flavors to meld and the texture to become perfect.
Certainly! You can use dairy-free cream cheese, coconut whipped cream, and vegan butter to create a delightful vegan no-bake Biscoff cheesecake.
To maintain its freshness, store leftover cheesecake in an airtight container in the refrigerator for up to 3-4 days.
Absolutely! You can experiment by adding cocoa powder, coffee extract, or even citrus zest to the filling for unique twists.
⚖️ Baking in grams
The most accurate way to bake is by baking by weight. Measuring cups are very inaccurate and can lead to baking failures. Therefore all of my recipes are posted in grams. I always bake with a scale, so I have a recipe card that automatically converts metrics to US customary, but it can have errors. So I advise you to bake with a digital scale. You can find them on Amazon for around 10 dollars.
⭐️ Did you make this? Please leave a star rating below or a review in the comments section.
📖 Recipe

No-bake Lotus Biscoff Cheesecake
Equipment
- Saucepan
- Food processor optional
Ingredients
Biscoff Crust
- 100 grams unsalted butter
- 250 grams Lotus Biscoff Cookies
Filling
- 400 grams cream cheese (Philadelphia or Monchou) room temperature
- 250 ml whipped cream cold
- 100 grams powdered sugar
- 1 tsp vanilla extract
Biscoff Topping
- 350 grams Biscoff Spread
- Biscoff crumbles
- Biscoff cookies
- Whipped Cream optional
- Caramel sauce optional
Instructions
Biscoff Crust
- Begin by finely crushing Lotus Biscoff biscuits in a food processor or by placing them in a plastic bag and using a rolling pin.250 grams Lotus Biscoff Cookies
- Melt unsalted butter and combine it with crushed biscuits until the mixture resembles wet sand.
- Press the mixture firmly into the base of a springform pan to form the crust. Refrigerate while you prepare the filling.
Lotus Biscoff Cheesecake filling
- Whip the heavy cream until stiff peaks form. Set aside.
- In a separate bowl, beat cream cheese, sugar, and vanilla extract until smooth and creamy.
- Gently fold the whipped cream into the cream cheese mixture until well combined.
- Now, transfer the cheesecake filling into the pan and spread out in an even layer with a spatula. Cover the cheesecake and refrigerate it overnight (or a minimum of 6 hours).
Biscoff Topping
- Melt the Biscoff spread in the microwave for 30 seconds and pour it over the cheesecake.
Nutrition
Nutrition information is calculated using an ingredient database and should be considered an estimate. In cases where multiple ingredient alternatives are given, the first listed is calculated for nutrition. Garnishes and optional ingredients are not included.
👉🏻 Recommended
- Easy no-bake Double Chocolate Oreo Cheesecake
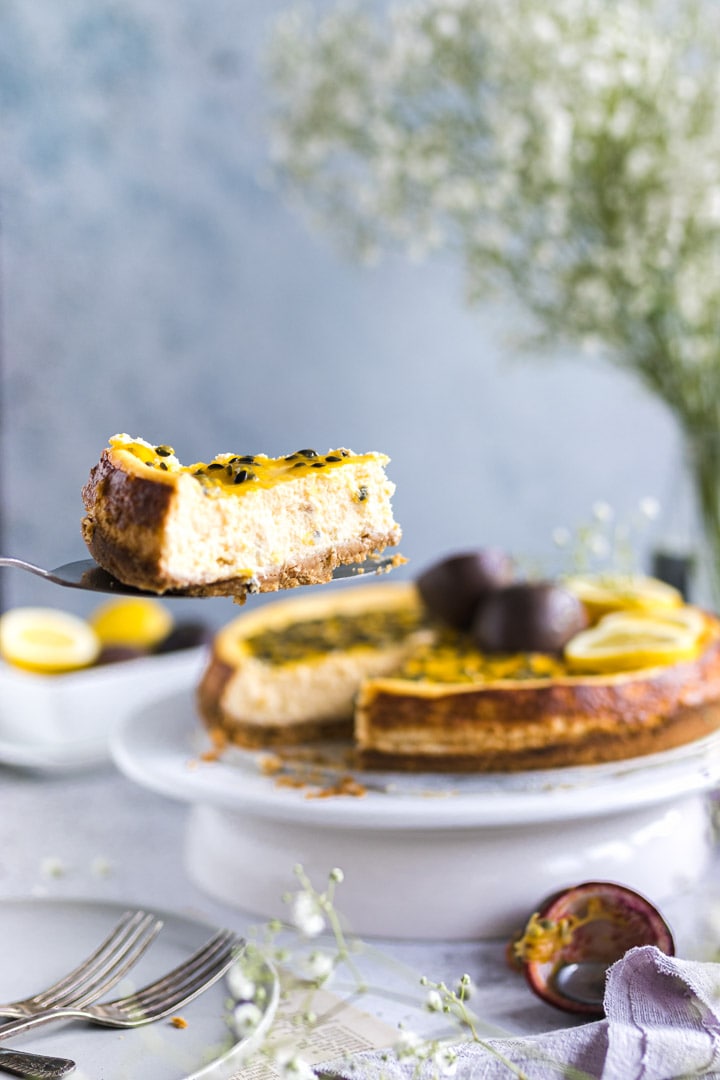
- Passionfruit Cheesecake
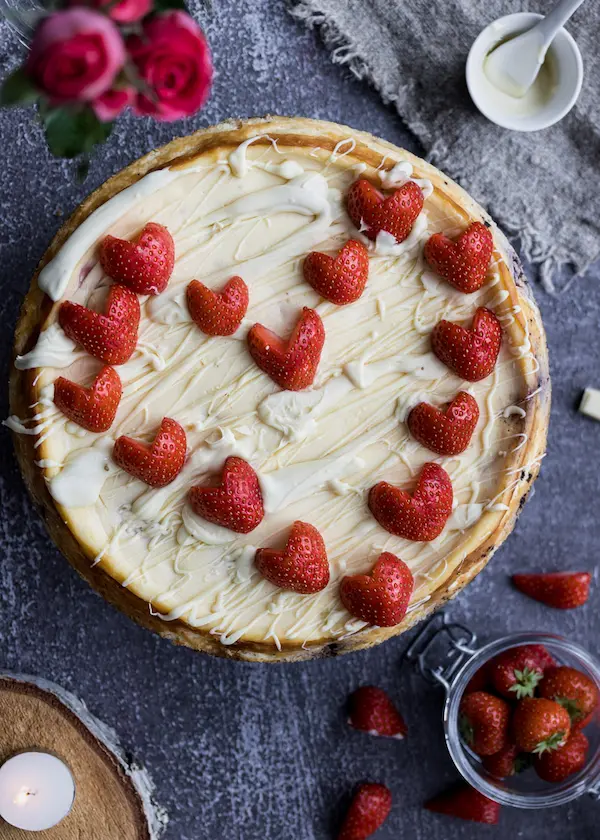
- White Chocolate Strawberry Cheesecake – valentines cheesecake
- No-bake Mojito cheesecake
- Tiktok Banana Bread Baked Oats
- Strawberry tiramisu with alcohol
Conclusion
In conclusion, our Easy 6-Ingredient No-Bake Lotus Biscoff Cheesecake is a triumph of simplicity and taste. With just a handful of ingredients and a little bit of time in the refrigerator, you can create a dessert that’s both visually stunning and utterly satisfying to your sweet tooth. Whether you’re entertaining guests or simply treating yourself to a moment of indulgence, this Lotus Biscoff cheesecake is the perfect choice. So, go ahead and gather your ingredients – a delightful dessert experience is just a few steps away!
Did you make this recipe? Mention @fleurfoodie and use the #fleurfoodie

