The Ultimate Baking Guide: 16 Baking Tips Every Beginner Needs To Know
Do you want to improve your baking skills but don’t know where to start? Are you searching for baking tips for beginners? The good news is that you’re in the right place by reading this ultimate baking guide, where I give 16 baking tips every beginner needs to know about.
It doesn’t matter if you just started out or if you are an experienced baker. This ultimate baking guide is made with the most useful tips and tricks to learn you to get good results every single time. These baking tips help you prevent making some of the most common baking failures in the future.
Do you want to make a recipe without baking it? Check out my no-bake recipes: Dutch Arretjescake and No-bake mojito cheesecake.
The Ultimate Baking Guide
This ultimate baking guide is built up with the following 16 helpful baking tips for beginners. In the different paragraphs, you can find out why these baking tips are important and what happens if you don’t follow these baking tips.
- Read the recipe before you start
- Have all the ingredients ready
- Use the right ingredient temperature
- Don’t replace ingredients
- Use quality ingredients
- Use a kitchen scale
- Know how to measure
- Sift dry ingredients if a recipe asks for it
- Don’t be afraid of using salt
- Grease the pan with butter, flour and parchment paper
- Bake in the center of the oven
- Don’t open the oven door while baking
- Test the doneness of your baking with a toothpick and your finger
- Cool frosting before using
- Let your bakings completely cool before decorating / frosting it
- Use the right way to cut a baking
1. Read The Recipe Before You Start
Stop wasting your money and ingredients by making this mistake. Read the instructions of the recipe carefully before you make it. This prevents you from missing one of the steps or forgetting about one of the steps. I don’t know anymore how many times a recipe went totally wrong, because of this simple mistake. Reading ahead will help you know the how, why, where, and when of what you are about to do.
2. Have All Your Ingredients Ready

Always prepare and measure all the ingredients before baking. You don’t want to mess up a recipe, because you were missing an ingredient or you were coming short of one of the ingredients. Also, measure every ingredient before baking, this will make the entire process a lot smoother. There is little room for mistakes if you start recipes this way.
3. Use The Right Ingredient Temperature
Make sure your ingredients are at the right temperature as the recipe specifies. The temperature really matters! There is some real science behind it. Any adjustment will affect the outcome. So if you need butter, eggs, or dairy at room temperature, make sure that it is room temperature. If the ingredient needs to be cold, that means that it needs to be cold. Don’t think that the temperature doesn’t matter, because this really can affect the texture and the outcome of your baking.

Use The Right Butter Temperature
Always buy unsalted butter instead of salted butter. Butter is the base of most baked goods. Therefore it is important to use the right butter temperature. The temperature of butter can really affect baked goods. There are three different butter consistencies:
- Butter at Room temperature, also softened butter, is actually cool to touch and about 65°F (18℃), not warm. Let refrigerated butter sit at room temperature for about 30 minutes to soften to room temperature.
- Chilled butter: cold to touch, about 35°F (2℃). Cut into small pieces and freeze until firm for about 10 to 15 minutes.
- Melted and cooled butter: fluid and slightly warm to touch, about 85°F (29℃). Melt in microsave bowl in a microwave or in a small saucepan. Let it cool about 5 minutes.
4. Don’t Replace Ingredients
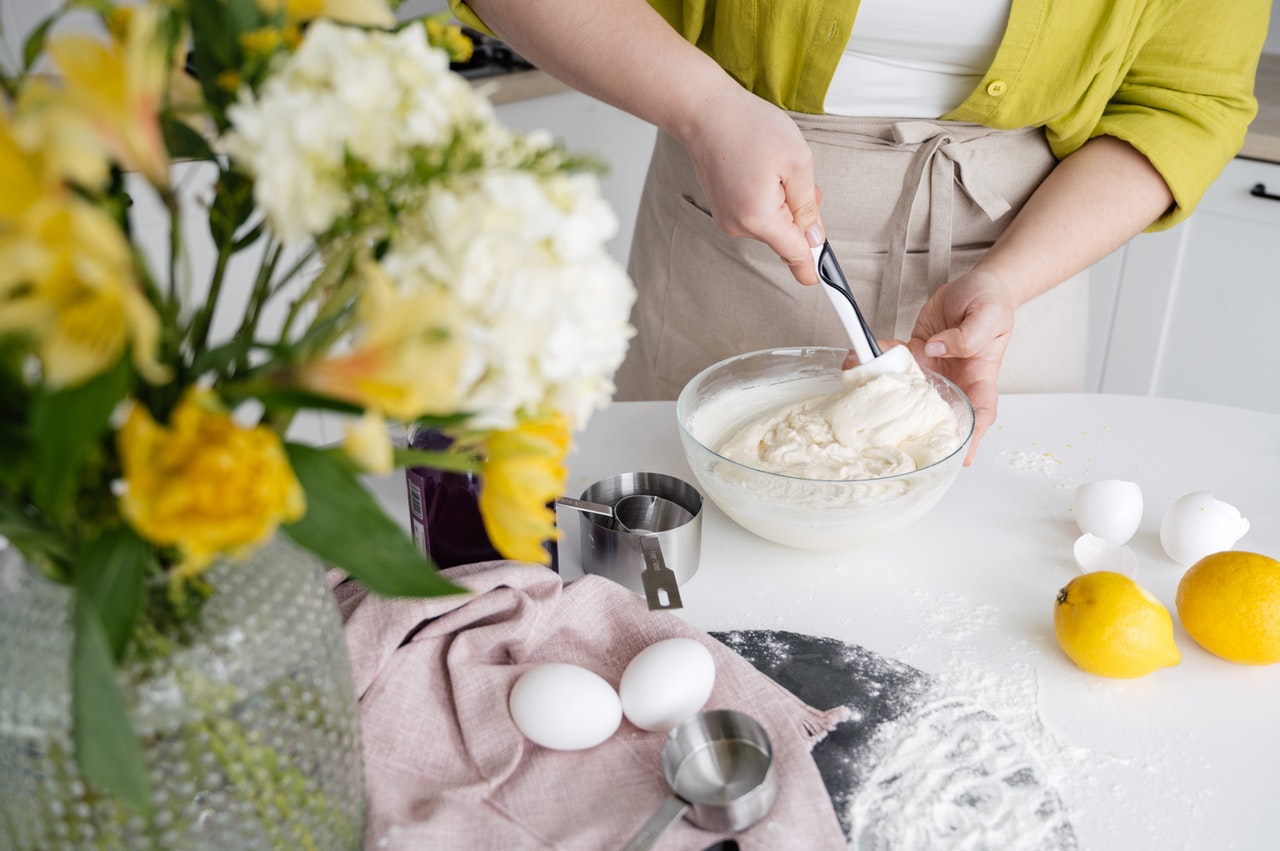
If you are just starting out. I advise you to always follow the exact recipe. Baking is science and if you swap ingredients, it can lead to failures. Because it sometimes requires other scales. Mix in order: I also advise you to always follow the order of the recipe. Sugar and butter should always be beaten together for 3-5 minutes before adding anything else. Dry ingredients should be combined together before adding liquids. You can add the liquid ingredients after completing the first two steps.
5. Use Quality Ingredients
Different brands of chocolate, cacao powder, butter, yogurt, buttermilk, and flour have varying levels of fat, moisture, and protein. Different brands can affect the outcome of a recipe. Use the brands that the recipe developer recommends or use the ingredients that you love. For example, the brand and the kind of chocolate for a chocolate mousse really matters. A cheap chocolate bar gives a different outcome than special baking chocolate with a lot of cacao. Sometimes it is better to invest in good quality products.
6. Use A Kitchen Scale

Pexels
I ALWAYS use a kitchen scale for measuring the ingredients, and I recommend you to do the same! A kitchen scale gives far more accurate results than volume measurements. Baking is science and it is all about the right proportions. Using a kitchen scale is the best way to ensure that ingredients are properly measured. A gram or an ounce is always the same. Most baking problems are from incorrect measurements. It is also faster than measuring cups. This is one of the reasons why I have my recipes also in grams.
7. Know How To Measure

If you use cups for measuring the ingredients instead of a kitchen scale (what I don’t recommend). You need to know how to fill up the cups properly to get the right baking results.
- Use liquid measuring cups for liquid ingredients.
- Use measuring cups or spoons to measure dry ingredients. Spoon and level your dry ingredients. This means you should use a spoon to fill the cup and level it up. Dry ingredients such as flour are notoriously hard to measure in a measuring cup. If you scoop or push in the parts into the container, you can get much more flour with the same volume (up to 150% more). If you don’t weight with the spoon and level method your baking can result in a fail. If you for example have to much flour in your ingredient, you will end up wit a dry baked good!
8. Sift Dry Ingredients If A Recipe Asks For It
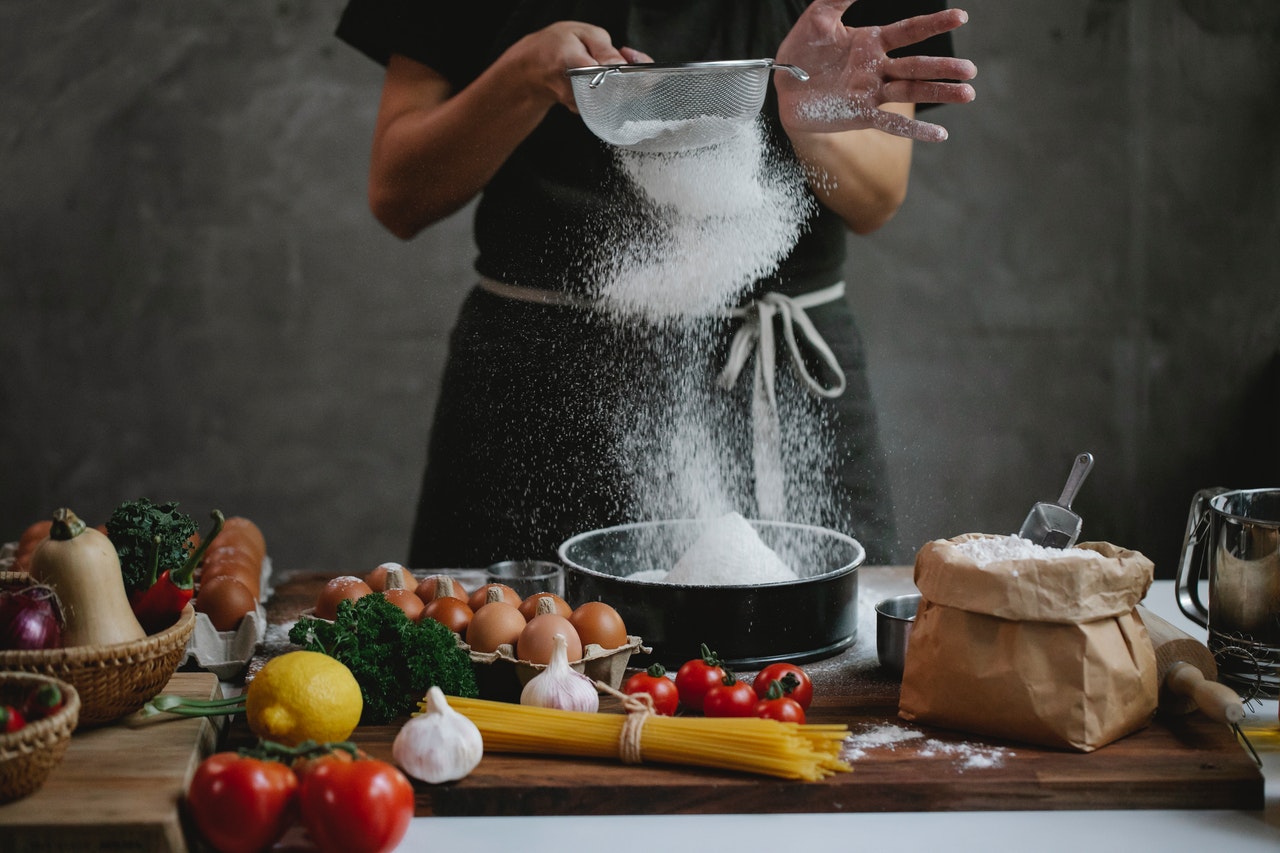
Why do you shift ingredients? To get the lumps out of the dry ingredients and make it fluffier. It also creates space for other components in the recipes to get in between the flour particles and do their work. Cacao powder and powdered sugar are often sifted to remove lumps. You DON’T have to sift dry ingredients for ALL recipes unless the recipe you’re reading specifically requires it. For example, commercial flour has already been shifted several times. You can sift with a fine-mesh strainer and a flour sifter.
9. Don’t be afraid of using salt

A lot of people think that you don’t need salt for baking, but this is FALSE. Salt is the missing ingredient to so many dishes. Use quality sea salt instead of table salt. There is a big difference in flavor. Be careful that you don’t use too much salt because that can ruin a baked good as well!
10. Grease The Pan With Butter, Flour And Parchment Paper

Shutterstock
Use butter and flour to grease a pan. Using butter and flour prevents your baking good from sticking to the pan later. Parchment paper helps dough and batter bake evenly. Always use parchment paper for baking. It helps to get brownies and cakes cleaned out of the pan. It also prevents cookies from spreading out on baking sheets. Don’t overfill your pans with dough. Fill baking pans only 2/3 of the way up.
11. Bake in the center of the oven
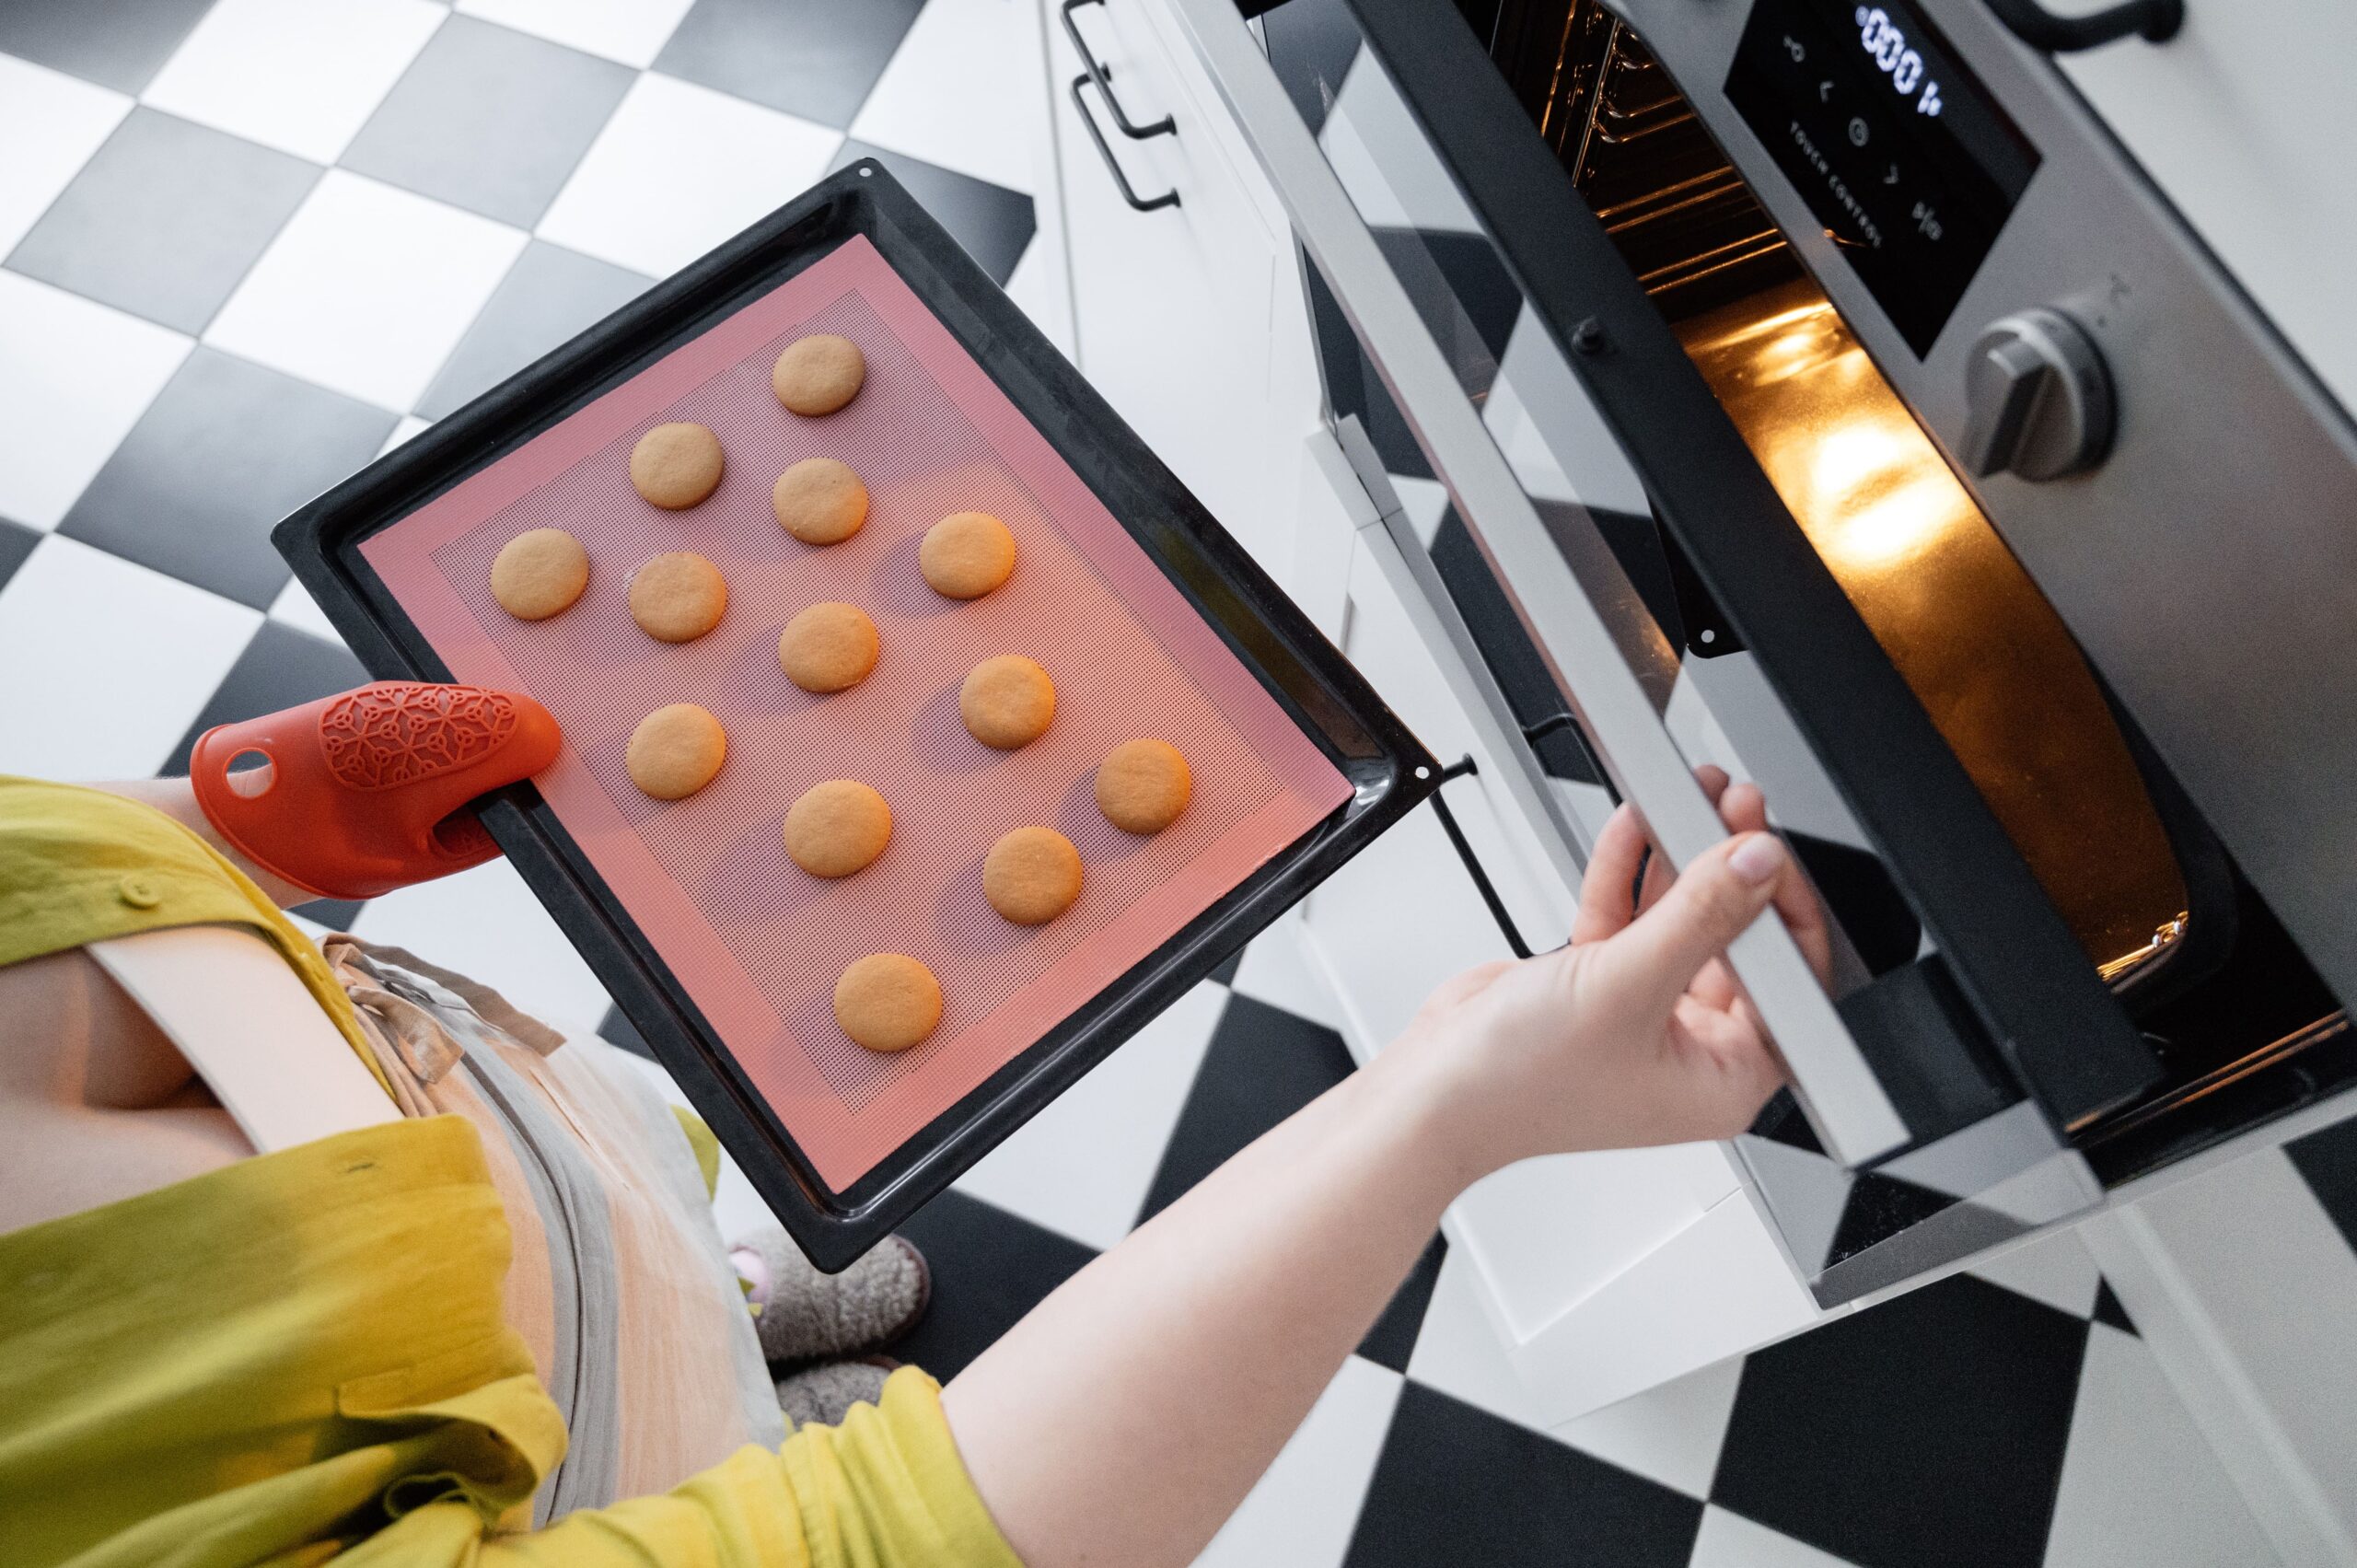
The middle of the oven is the best position for all your bakings. The center of the oven, allows the hot air to circulate evenly around the food, resulting in even cooking. Place the rack in the middle of the oven before even preheating so it’s ready to go when it’s time to bake. And always preheat the oven, don’t put your baking goods in the oven before your oven reaches the specified temperature. The temperature affects the outcome.
12. Don’t Open Your Oven Door
I know how tempting it is to open the oven to peek inside, but this can completely ruin your baking! Baking relies on consistent environments. Opening and closing the oven affects the oven temperature. Because opening lets cool air in, and that interrupts the baking process. Use the light and window feature instead to see how your baking is doing.
13. Test The doneness Of Your Cake With A Toothpick AND With Your Finger
Do the toothpick test 5 minutes before the timer goes off, to make sure you aren’t overbaking it at the end. If you need to test your baked goods for doneness, do this quickly. Otherwise, it will affect the oven temperature, and this will mess up your baked goods. If more oven time is required, put it back as quickly as you can.
Muffins and cakes
I bet you have heard about this baking tip before. Stick a toothpick, skewer, or cake tester into the middle of a cake or muffin. If it comes out clean, the cake is done. This test is not a sole indicator, sometimes oil-based cakes produce a clean tester before the batter is fully cooked. This is why I always recommend tapping with your finger in the middle of the cake. If the batter doesn’t produce a bit of resistance or sticks to your finger it is not done.
Brownies and blondies
Most of the time you want to under-bake brownies and blondies to achieve that fudgy and moist texture. But how do you know if these are ready? You can do the toothpick test as well for brownies and blondies, but the toothpick doesn’t need to come out clean. There should stick a few crumbs to the tester, but not a smooth smear.
14. Let your baked goods completely cool before decorating/frosting it
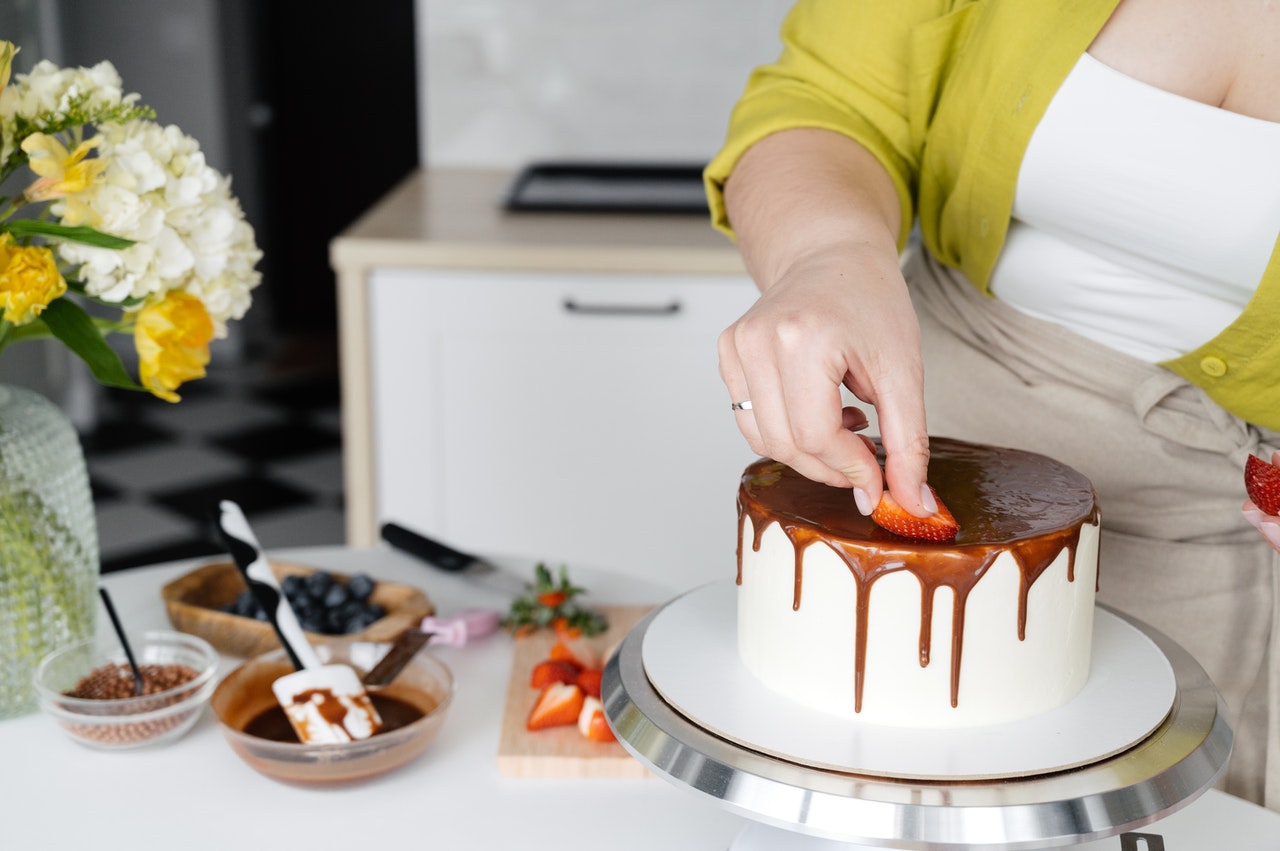
Let your baked goods completely cool on a cooling rack before decorating. If you are decorating or frosting your baked good when it is still warm, it will be a disaster. You don’t want a frosting that slides off to the side. So don’t be impatient, and wait till your cake is completely cool. If you want a cake top to be flattened out, cool a cake upside down on a cooling rack.
15. Cool frosting before using
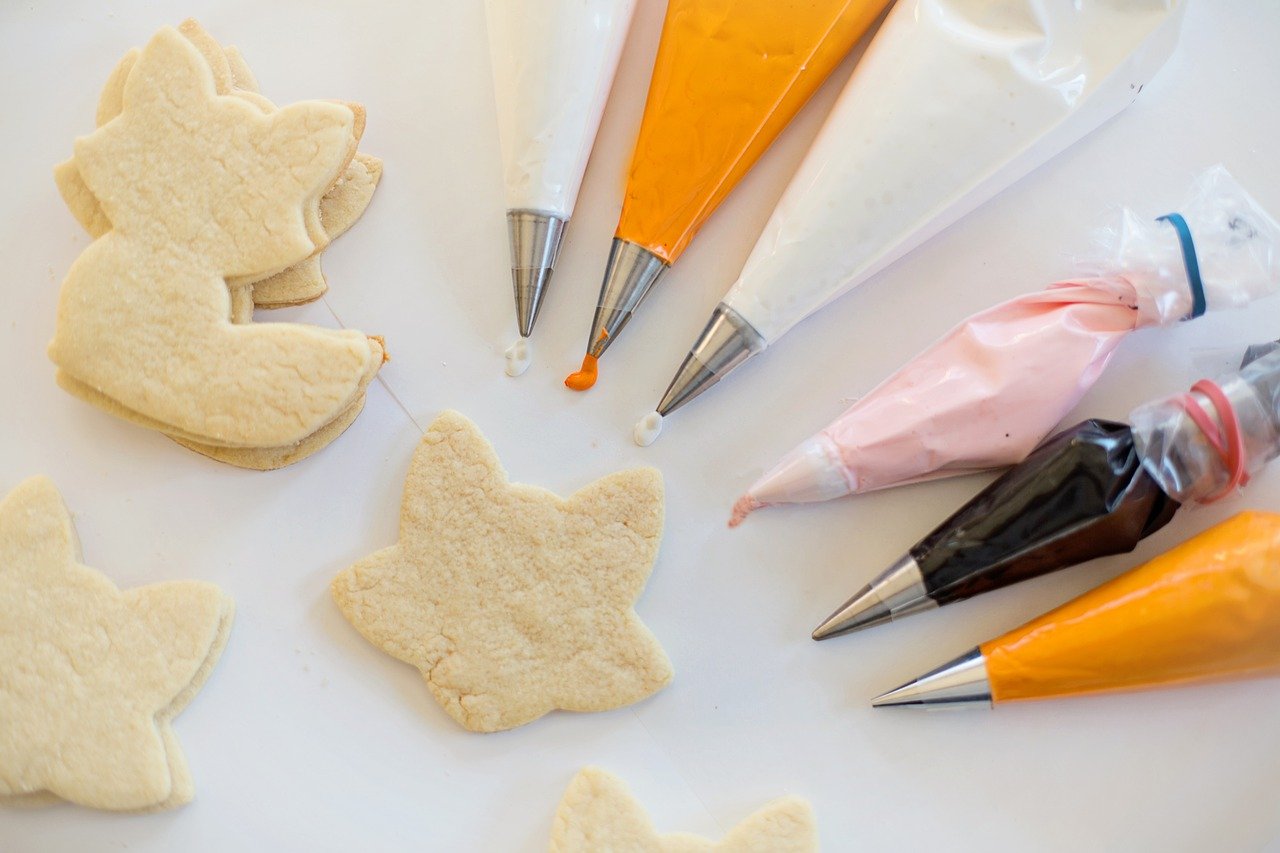
Not only do your baked goods have to be at the right temperature before frosting. It is also important that the frosting is cool before piping it. Put the frosting after making it, in the refrigerator. You can fix a frosting that is too thick by adding a spoonful of milk. Loose frosting can be fixed by adding extra powdered sugar until it reaches the right consistency.
16. How to cut a dessert the right way?

Nothing is more frustrating than cutting a beautifully decorated cake the wrong way. The trick of cutting a dessert the right way is to have a knife that is the opposite temperature as the dessert. For a hot dessert, the knife has to be cool. For a cool dessert, the knife has to be heated before slicing your dessert. You can heat a knife by holding it under hot running water. Another way of heating a knife is to dip a knife in a tall container of hot water. Wipe the knife dry before cutting the cake. Repeat heating the knife multiple times.
For desserts at normal room temperature, all you have to do is wipe the knife with a paper towel every time you slice. Wiping away the frosting or decoration with a kitchen towel prevents ruining your dessert.
Try again and have fun!
The most important thing is to have fun and enjoy your bakings. Failures are inevitable, but you have to try again. You have taken a huge step in your baking career by reading all these baking tips in this ultimate baking guide. The more experienced you get, the better your bakings become!
Recommended
Sources
- Use a scale – Marguerite Preston
- Baking tips – Sally’s Baking Addiction
- 100 Baking Tips – A Scipy Perspective
Don’t Forget To Share This Post With Others
Did you find this Ultimate Baking Guide helpful? Don’t forget to share this Ultimate Baking Guide with others, so you can help others improve their baking as well.

